| Contact Us For Quotation | Email: 464560351@qq.com | Whatsapp&Wechat:+8618620373879 |
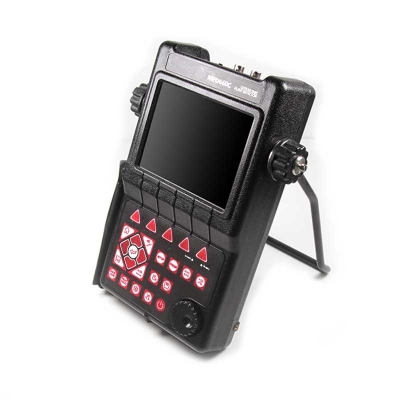
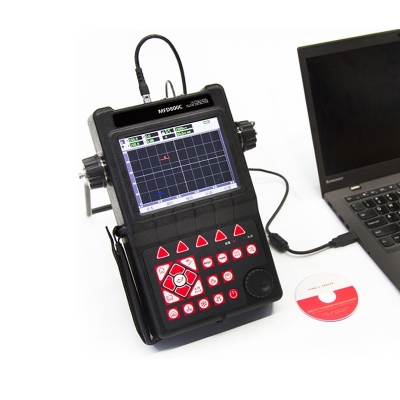
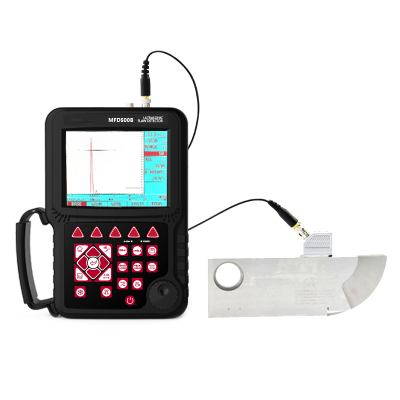
Testermeter- MFD660C Ultrasonic Flaw Detector Core processor CPU with 400M main frequency
Model: MFD660C Measuring range: 0-9999 mm at steel velocity Resolution Accuracy: +/-0.1% FSW, Vertical: 0.2% FSH, Amplifier Accuracy +/-1 dB Communication storage: USB2.0 OTG;100 groups of flaw detecting parameters channels; Working time: more than 10 hours Main unit weight: 1.8KG Dimensions: 280*220*70mm Package dimensions: 44.5*37*14cm Total weight: 5.5kg |
Product Overview
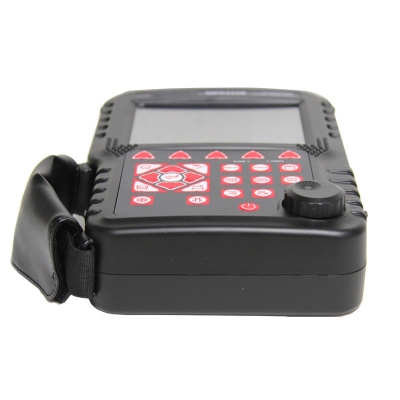
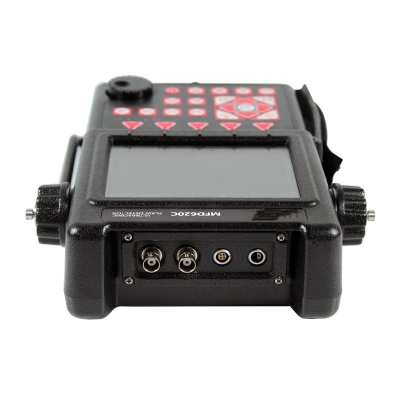
| MFD660C intelligent digital ultrasonic flaw detector, Mitech concentrated years meticulously developed premium product, has a lot of advantages like unique design, sophisticated manufacturing, convenient operation, powerful function. It had received customers' favored since its inception. It can test, orient, evaluate and diagnose various flaws such as crack, lard, air hole in workpiece’s interior swiftly and accurately without any destruction. With full digital 640X480 TFT LCD display, it can select the operating interface style and the LCD brightness according to environment. With humanizing interface design, the waveform show delicately. It can find the defects clearly in full screen. Single hand capable for holding operation, the curve making, probe calibration and other conventional operation can be completed automatically. Core processor CPU with 400M main frequency, it can complete the complex run quickly and realize intelligent defect analysis. Low power design with large capacity and high performance lithium ion battery module, it can work more than 10 hours continuously. Full English master-slave menu, emphasizing on user experience, collecting shortcut keys, digital shuttle rotary wheel, cross menu three operating ways in one body, customers with different habits can operate it freely. It supports many languages. Its waterproof, oil proof, dustproof function can achieve IP65 protection level. It is the necessary professional precision instrument for defect detection, quality control, on-line safety monitoring and life evaluation in fields of oil, chemical, metallurgy, shipbuilding, aviation, railways and so on. |
Function & application
The instrument can be widely used in locating and sizing hidden cracks, voids, disbands and similar discontinuities in welds, forgings, billets, axles, shafts, tanks, pressure vessels, turbines and structural components. Working Principle When presence of a defect in a workpiece with homogenous material, due to the defects, it will inform the interface among different mediums between the defect and workpiece. As the acoustic resistance is different at the interface, after the pulsing ultrasonic wave met the interface, it will produce reflection. The reflected energy will be received by the probe. Then it will show a reflection waveform in a certain abscissa position in the display screen which is the defect depth in the workpiece. The height and shape of reflecting wave would be different caused by the different defects which reflect the defect’s character. Working Conditions Operating Temperature: -10℃ to 50℃; Storage Temperature:-30℃ to 50℃ Relative Humidity: (20 ~ 95)% RH The surrounding environment should avoid of vibrating, strong magentic field, corrosive medium and heavy dust. |
Instrument Features
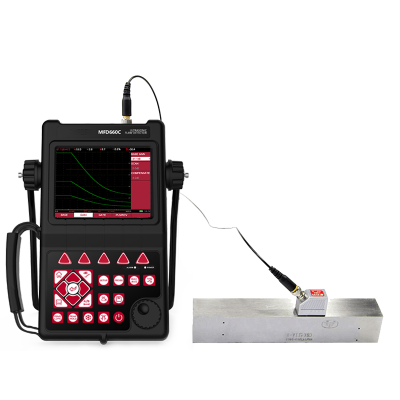
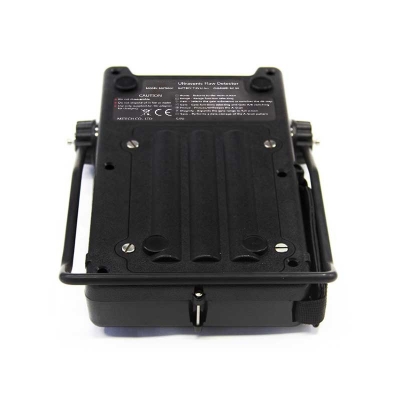
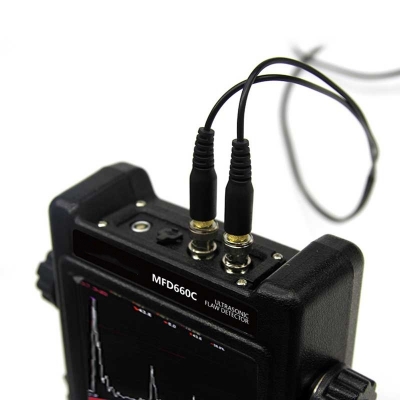
Gate Alarm Gate position, gate width and gate height can be adjustable at will. The B gate can chose to set wave-getting alarm OR wave-losing alarm. The beep in gate and LED light can be alarmed or closed (the LED light alarm is very effective under the noise environment). The capture mark function can show the captured echo characteristics in the gate. Data Storage The instrument is built with mass storage. The data and files will not be lost because of instrument power breakdown. The storage contents included channel parameters, waveform pictures and video files. It supports 100 groups of flaw detecting parameters channels. It can preset well for the combination parameters of various types of probes and instruments. It can add locks to each channel and change the channel name as well as set testing standards for each industry freely. It can save 20000 pictures of detecting echo signals and parameters. It can realize communication with PC. Video Function The instrument supports for saving the inspection process as video file and save it to the internal storage card. Video file can be replayed through the instrument. The instrument can support maximum 100 hours of video files. Playback the inspection process video makes great convenience for learning detecting but also saved for the future analysis to the inspecting process. REAL-TIME CLOCK Record and save the tracking record of detecting date and time in real time. Communication High speed USB2.00TG communication interface with USB cable connecting instrument and computer, it can realize data file transfer and work for USBHost mode to operate the external connecting U disk. Battery Module The large capacity lithium battery module is easy to be assembled and disassembled. It can be charged independently but also charged by inserting wire. Its continuously working time is more than 10 hours. Performance Self-checking The instrument can automatically test the instrument probe’s combined performance indicators (including horizontal linearity error, vertical linearity error, resolution, dynamic range, sensitivity range, sensitivity margin) and can generate the testing report. Operating Method and Attentions Simple Operation Way: 1. Connect the probe to instrument with probe cable 2. Power on the instrument 3. Choose the channel and clear the present channel 4. Calibration the probe Straight Probe: P-Delay Angle Probe: P-Delay, X-value, Angle 5. Make AVG curve (straight probe), DAC curve (angle probe) 6. Choose the function setting 7. Detecting flaw in the workpiece 8. Record the flaws 9. Power off the instrument after operation |
Notes
1. During pressing key operation, please not be too hard. Please not use the hands with much oil or mud for operating the instrument keypad to avoid affecting the keypad working life. 2. Please clear the instrument cover after operation 3. Please keep the instrument in a dry and clean place 4. Please avoid oil, water or other liquids into the instrument and clean the instrument surface regularly. 5. Make sure not twist or press the probe cable, communication cable and power cable. Please grasp the plug root during inserting or pulling the cable. Don’t grasp the cable for pulling or inserting. 6.Please make sure the standard battery for working power adapter for charging. Otherwise, the instrument would be damaged easily. |
Instrument Maintenance
1. Care of the Instrument Clean the instrument and its accessories using a moist cloth. Only use the following recommended instrument cleaners: water, a mild household cleaner or alcohol (no methyl alcohol). Attention: Do not use any methyl alcohol, solvents, or dye penetrated cleaners! The plastic parts can be damaged or embrittled by these. 2. Care of the Batteries Capacity and life of batteries mainly depend on the correct handling. Please therefore observe the tips below. You should charge the batteries in the following cases: Before the initial startup After a storage time of 3 months or longer After frequent partial discharge 3. Maintenance The instrument requires basically no maintenance. Attention: If the accident occurred during instrument using, the instrument will be abnormal which means the instrument will not be able to use. Please turn off the instrument connection with the battery by putting the battery switch to off. Then, power on the instrument again after waiting one minutes to see if it is back to normal. We provide two year’s warranty and life-long maintenance to the instrument. Please kindly contact with our company or agent for instrument repair. Please don’t disassemble the instrument by yourself without our agreement. |


 English
