| Contact Us For Quotation | Email: 464560351@qq.com | Whatsapp&Wechat:+8618620373879 |
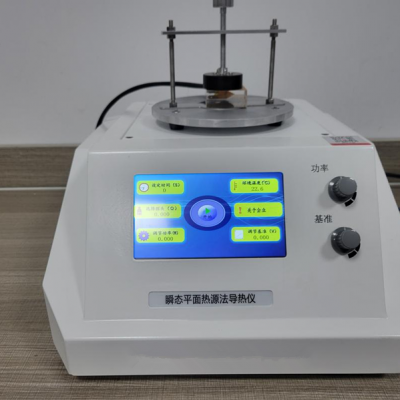
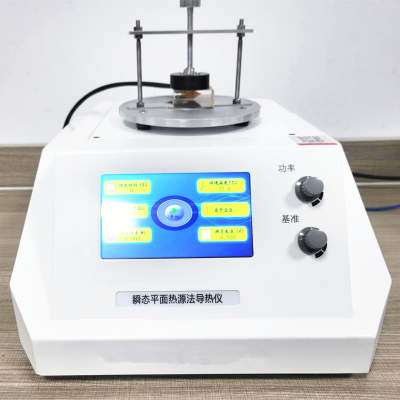
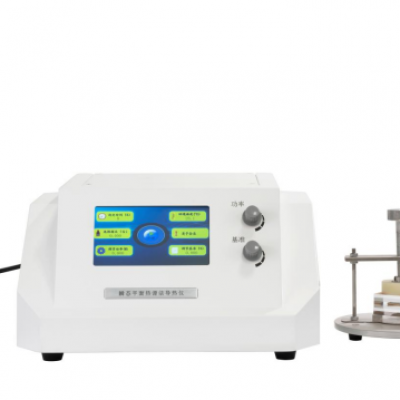
Testermeter- DZDR-S Transient thermal conductivity meter
Thermal conductivity tester based on transient plane heat source method (TPS). This product is independently developed by Dazhan Instrument, with stable test performance and strong data processing and analysis ability, and can be used for measuring the thermal conductivity of various types of materials. |
Type of material:metal, ceramic, alloy, ore, polymer, composite material, paper, fabric, foam (flat surface insulation, panels), polyurethane, phenolic, urea-formaldehyde, mineral wool (glass wool, rock wool, mineral wool), cement walls, glass-reinforced composite panels CRC, cement polystyrene panels, sandwich concrete, composite panels with FRP panels, paper honeycomb panels, etc. |
1. Test scope: 0.0001—300W/(m*K) 2. Measuring temperature range: room temperature - 130 ℃ (can be extended to 300 ℃) 3.Probe diameter: 7.5mm for No. 1 probe; Probe 2 15mm 4.Accuracy: 0.001 5.Measuring time: 5 to 160 seconds 6.Power supply: AC 220V 7.Overall power: <500w 8.Temperature rise of sample: < 20 ℃ 9.Test sample power P: probe 1 power 0<P<1w; Power of No. 2 probe 0<P<20w 10.Sample specification: No. 1 probe sample (≥ 7.5 * 7.5 * 3.75mm) No. 2 probe sample (≥ 15 * 15 * 7.5mm) 11.Equipped with powder sample test container, liquid sample test cup and solid sample test fixture 12.The software can export PDF reports and EXECL data Note: The No. 1 probe measures thin, low conductivity materials. Samples can be stacked if they have a smooth and flat surface and are sticky |
1.The test range is wide, the test performance is stable, and it is at the leading level among similar domestic instruments; 2.Direct measurement, the test time can be set within 5-160s, which can quickly and accurately measure the thermal conductivity, saving a lot of time; 3.Does not suffer from the same contact thermal resistance as the static method; 4.No special sample preparation is required, no special sample shape is required, only a relatively smooth sample surface for lumpy solids and a length and width of at least twice the diameter of the probe is sufficient; 5.Non-destructive testing of samples, meaning that samples can be reused; 6.The design of the probe using a double helix structure, combined with an exclusive mathematical model, using core algorithms to analyse and calculate the data collected on the probe; 7.Cleverly designed and easy to operate sample tables, suitable for holding samples of different thicknesses and at the same time simple and aesthetically pleasing; 8.The data acquisition on the probe uses an imported data acquisition chip which, with its high resolution, enables more accurate and reliable test results; 9.The control system of the mainframe uses an ARM microprocessor, which is faster than conventional microprocessors, improving the analysis and processing capacity of the system and making the calculation results more accurate; 10.The instrument can be used for the determination of thermal physical parameters of lumpy solids, paste solids, granular solids, colloids, liquids, powders, coatings, films, insulation materials, etc. 11.Intelligent man-machine interface with colour LCD display and touch screen control for easy and simple operation. 12.Powerful data processing capabilities. Highly automated computerised data communication and report processing system. |
instrument | Transient plane source method | Laser method | Hotline method | Protective plate method |
measuring method | Unsteady state method | Unsteady state method | Unsteady state method | Unsteady state method |
Measuring physical properties | Direct access to thermal conductivity and thermal diffusivity | The thermal diffusivity and specific heat are obtained directly and the thermal conductivity is calculated from the input sample density values | Direct access to thermal conductivity | Direct access to thermal conductivity |
Scope of application | Solid, liquid, powder, paste, colloid, particle | solid body | Solid, liquid | solid body |
Sample preparation | No special requirements, simple sample preparation | Complex sample preparation | Simple sample preparation with specific requirements | Large sample size |
Measurement accuracy | ± 3%, preferably ± 0.5% | Better to reach ± 10% | Better to reach ± 5% | It is better to reach ± 3% |
physical model | Plane heat source contact measurement, as long as the limited surface is in good contact | Heat source non-contact type | The line heat source must be in good contact with the line model | Heat source contact type, with good surface contact |
Thermal conductivity range[w/(m*k)] | 0.001-300 | 10-500 | 0.005-10 | 0.005-5 |
Measurement time | 5-160S | A few minutes | Dozens of minutes | Hours |
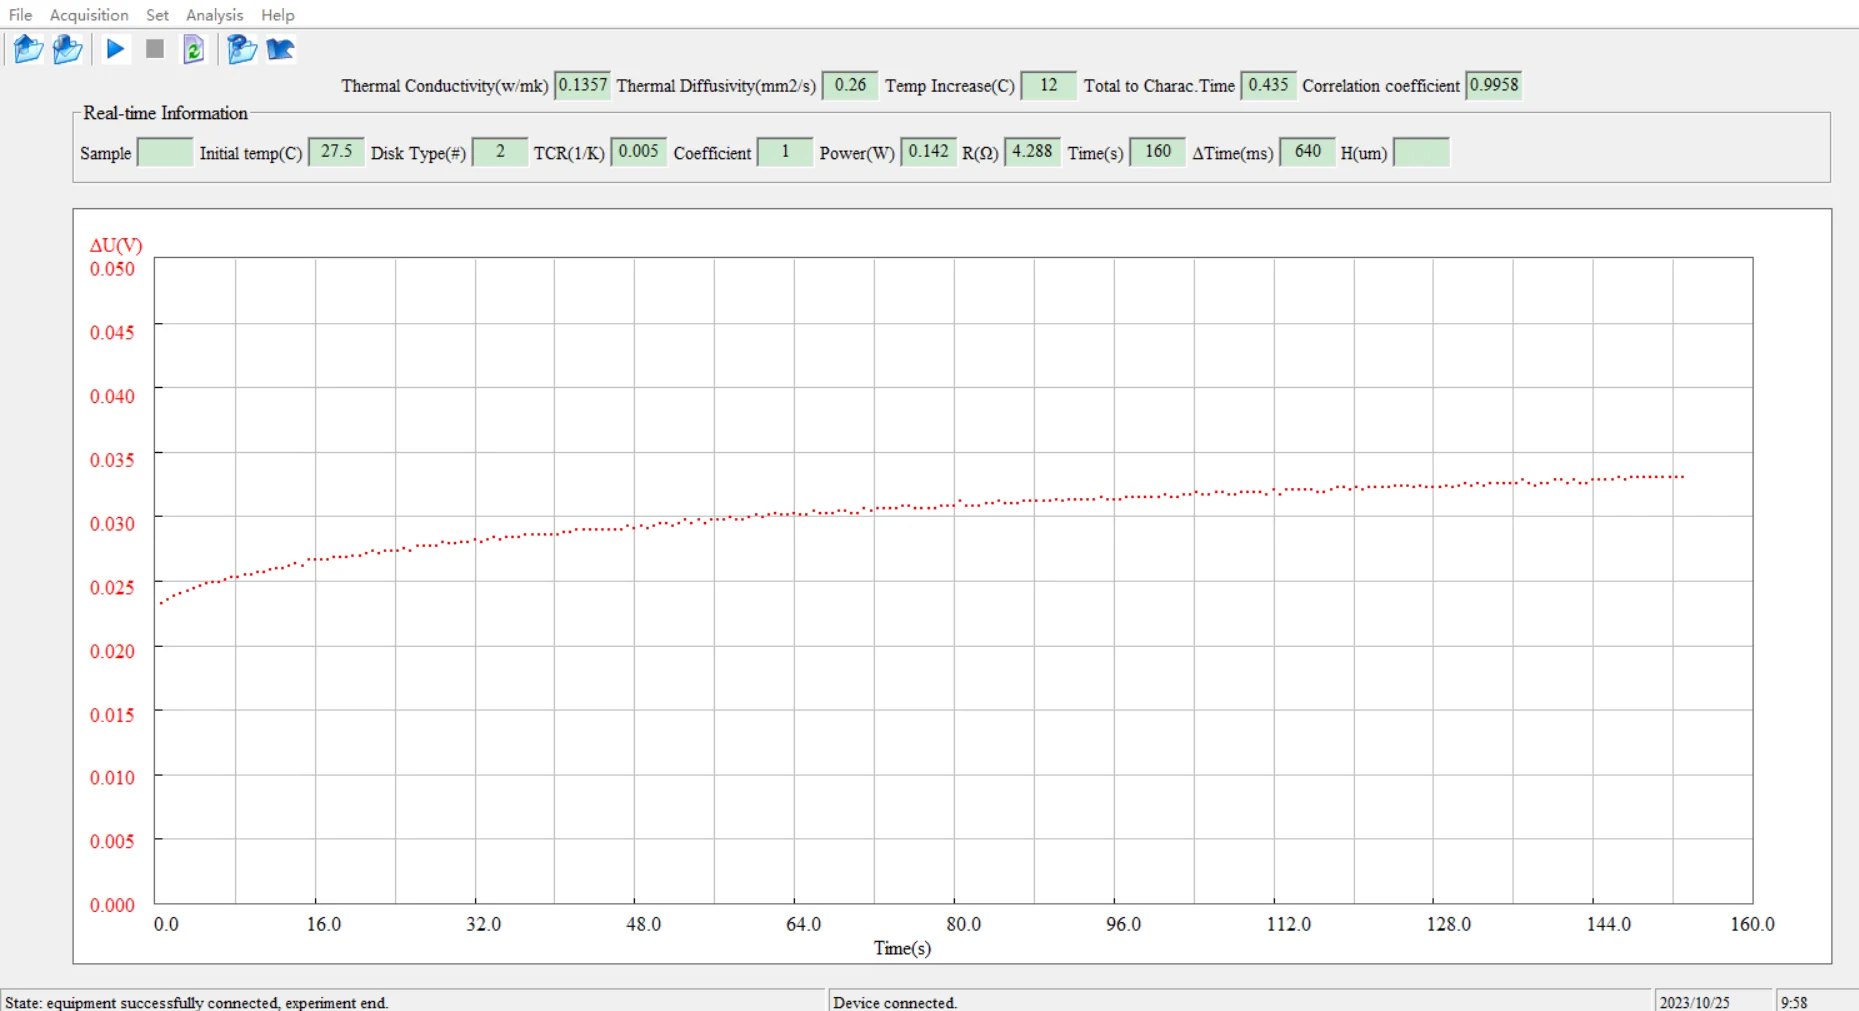
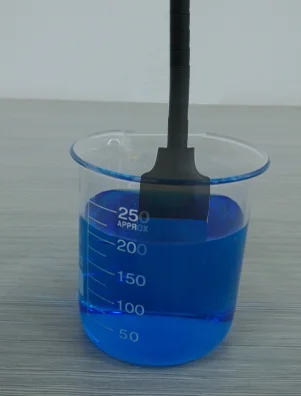
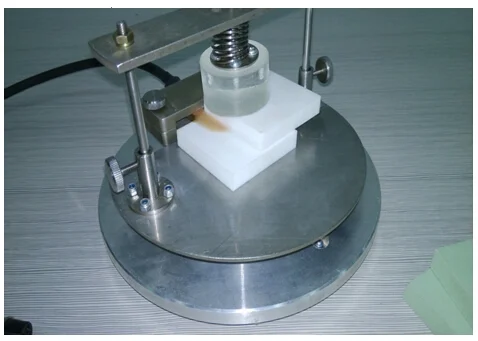
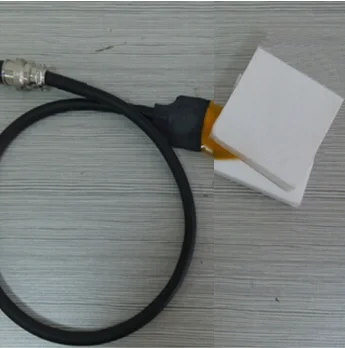
Test Method:


 English
